Supreme Tips About How To Build A Dove Cot

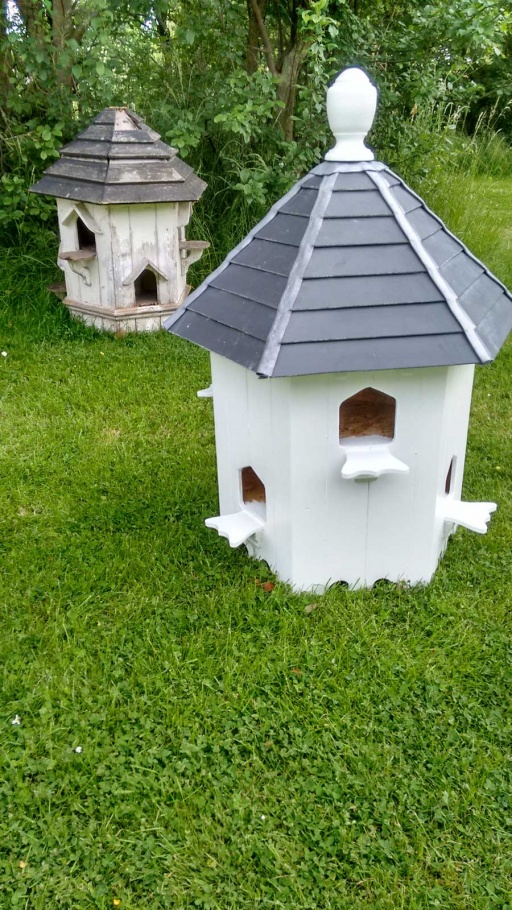
Dovecote Birdhouses: Designs, Plans And Reviews Of The Best
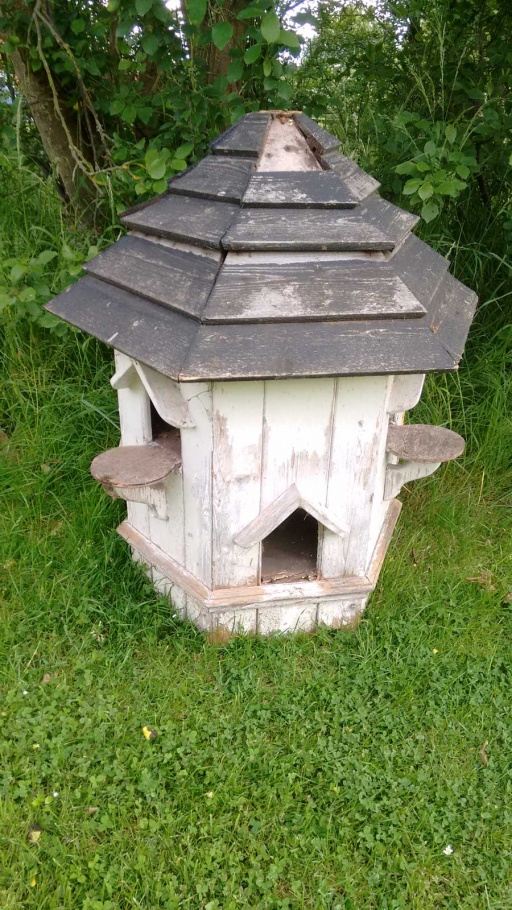
Dovecot / Bird House Build - Diywiki
Bluebird House Plans: How To Build A Simple Six-sided Birdhouse - Feltmagnet
How To Build A Dovecote - Part 1 Youtube
Bluebird House Plans: How To Build A Simple Six-sided Birdhouse - Feltmagnet

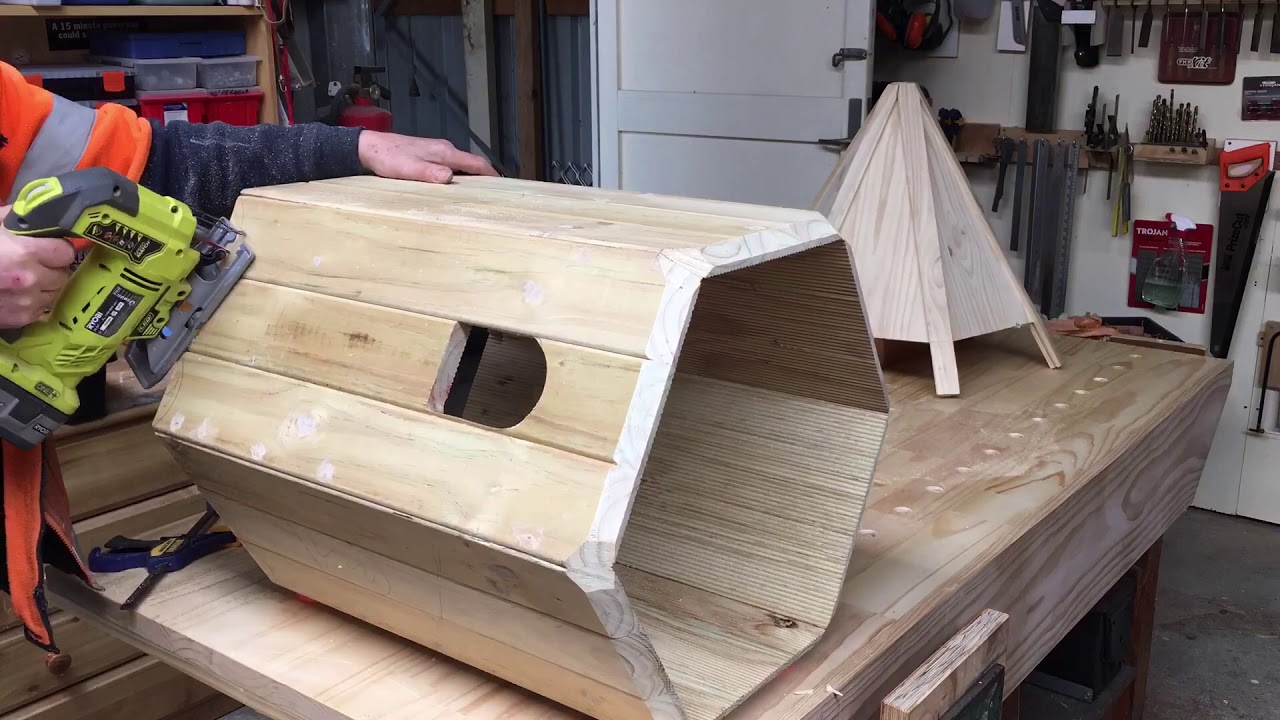
Cut the notches with a bandsaw or jig saw.
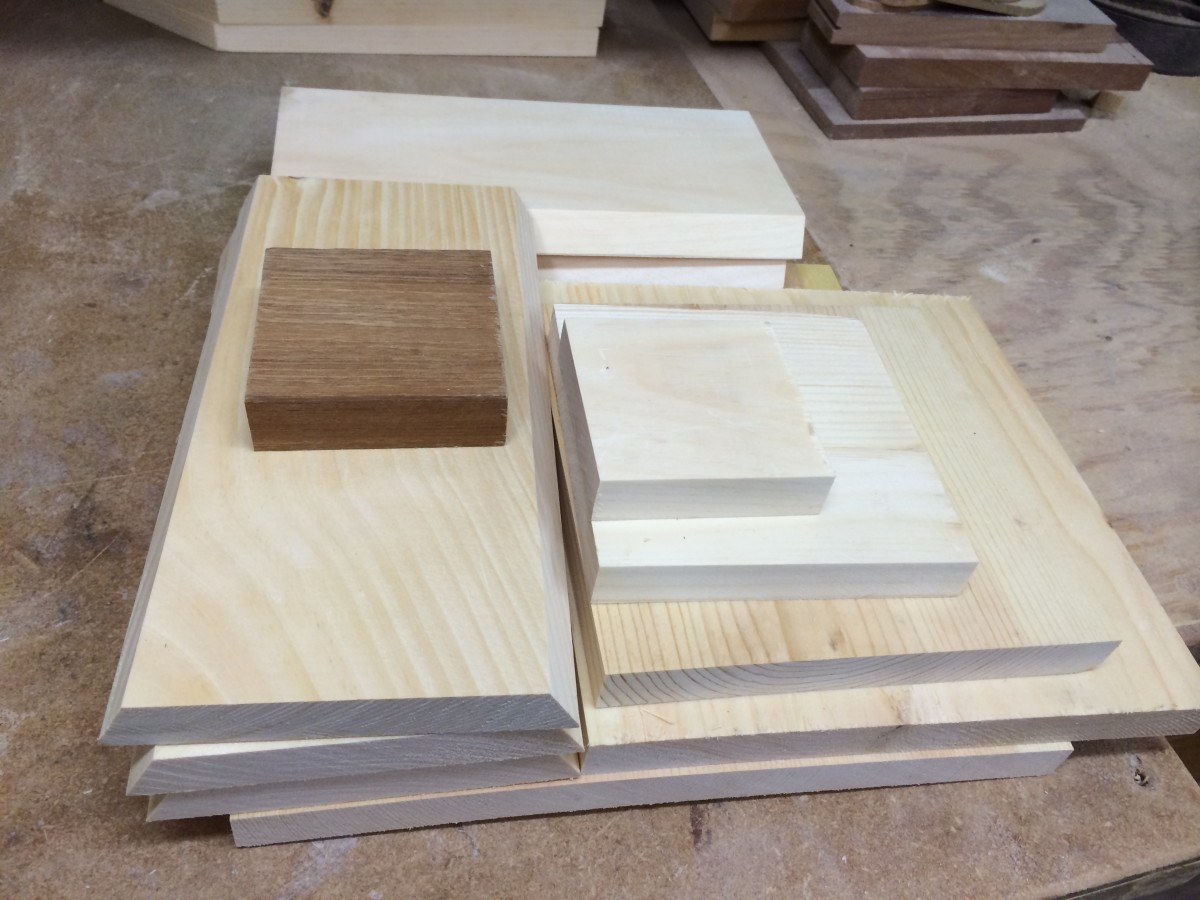
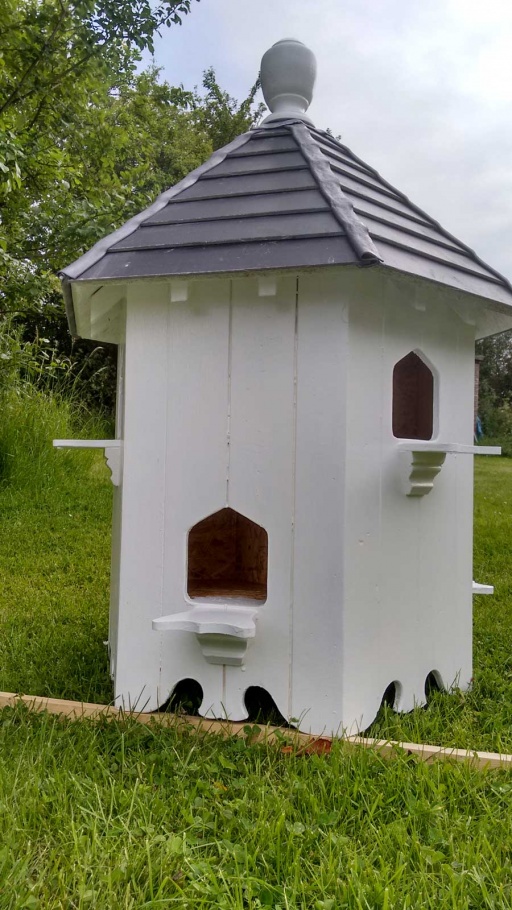
How to build a dove cot. I decided to make a second dovecote for my daughter’s anniversary, she had visited our home a few times and loved it. If you measure and cut correctly, align the slots and the brackets will fit together nicely. If you build your dovecot with your own handsit was not possible to make many departments, then the minimum number is 2.
Use 3” screws or nails to fit. And while dovecotes—or pigeonniers as they are known in. With very tiny scissors and needles.
Outside of that the doors and the walls are. The most elaborate cuts are the jigsaw pieces in the door (the doors should be raised 6 to 8 inches to allow for a threshold). How to build your own dovecote this weekend step 1.
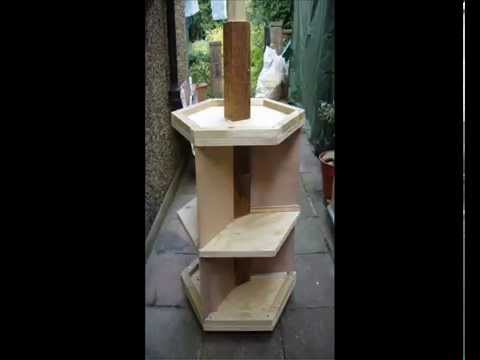
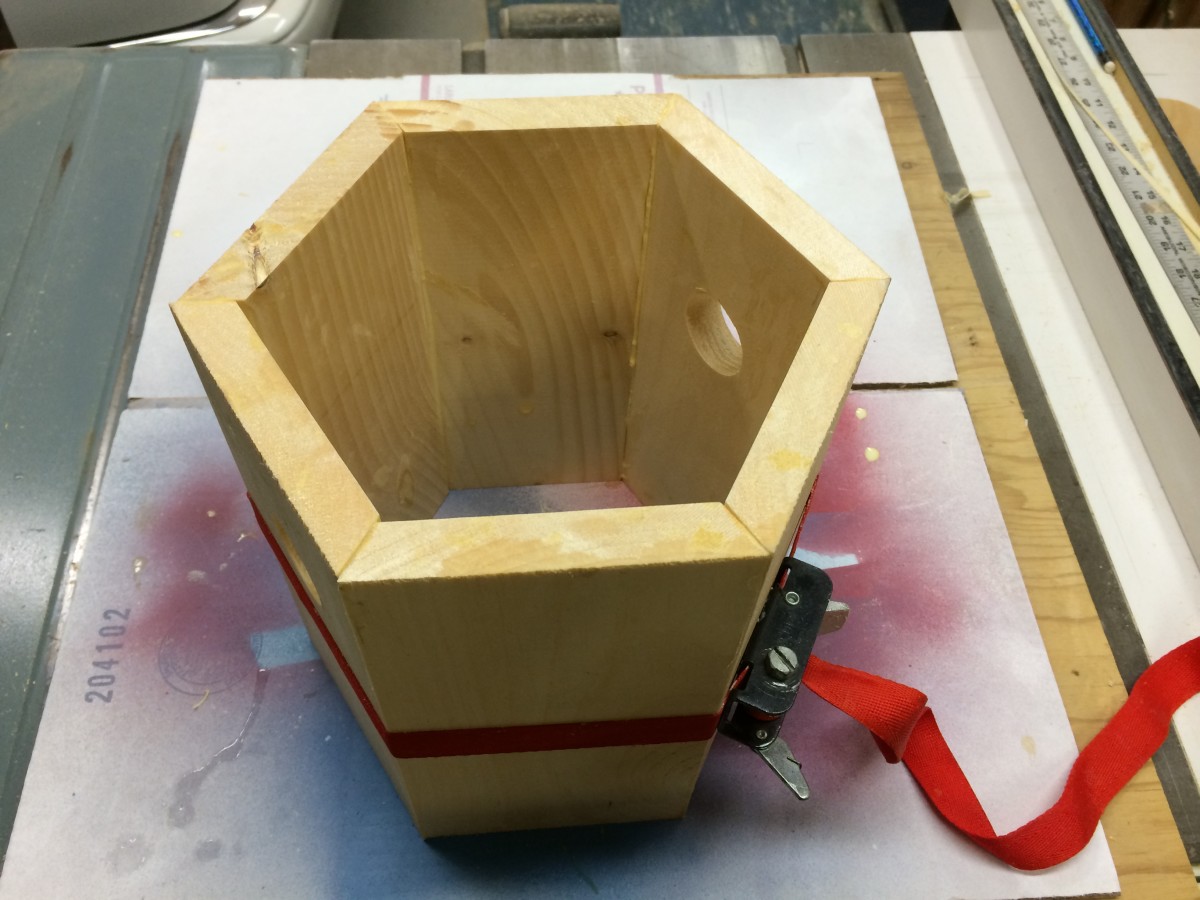
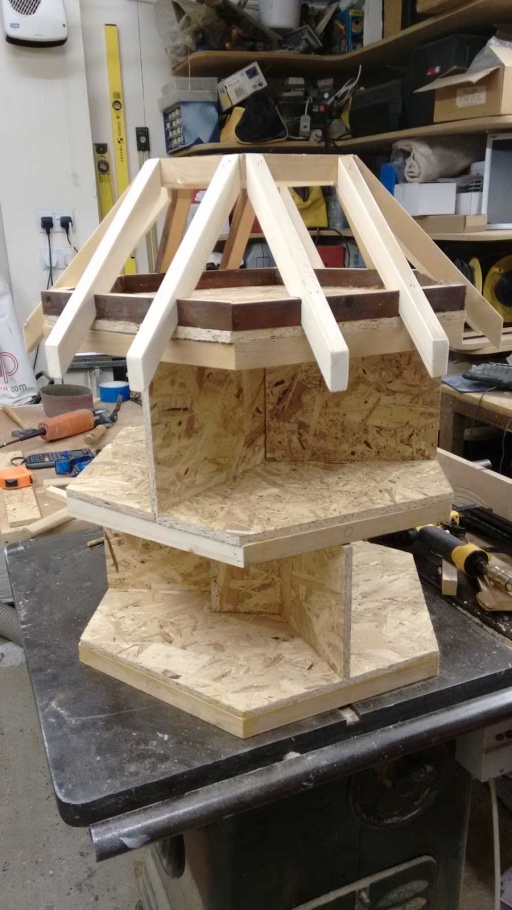
How to build a dovecot with your own hands how to warm a dovecote for the winter. A dovecote or as it is alternatively called, a dovecot is basically a structure which is created as a. Create the frame using the 2”x3” lumbers (l2) on the 4”x4” post (l1).
Dovecote interiors are filled with nesting holes where doves or pigeons can nest and nurture their offspring. There are many methods for insulating a house. This is a video in response to requests asking for the measurements of my dovecote.the measurements are approximations as they are taken after the build.
The buttons are the hardest things to get on. If you want all the default packages, run. Some of them relate only to a certain part of the.
Do it yourself construction made mostly from waste/recycled material from our house renovations. There is no need to acquire special equipment in order to build and equip a dovecote. Attach the bracket to the base section with a.
Mostly old wall tongue and groove panels. Position the 150mm x 100mm popholes, 60mm from the bottom for the lower holes and 275mm for the upper. The boards of each panel are not joined to each other, but are simply nailed in the middle of each board to the framework, and the next board added (with a little space to allow for seasonal.

Dovecot / Bird House Build - Diywiki

How To Build Your Own Dovecote This Weekend | Stuff.co.nz

Let's Build A Dovecote! - Youtube

How To Build Your Own Dovecote This Weekend | Stuff.co.nz

Making A Dovecote From Scrap Wood - Youtube

Dovecote Birdhouses: Designs, Plans And Reviews Of The Best

How To Build A Dovecote Part Three, And Nest Box Conversion - Youtube
Wooden Dovecote Part3 The End - Youtube

How To Build A Dovecote Free Plans - Youtube
Dovecot / Bird House Build - Diywiki
Dovecot / Bird House Build - Diywiki

